
Quick Start
This guide helps you log in and start using the TestNet platform in 5 minutes.
Step 1: Log In to the System
Access the TestNet URL (default https://your-server:3100) and log in with the credentials provided by the administrator.
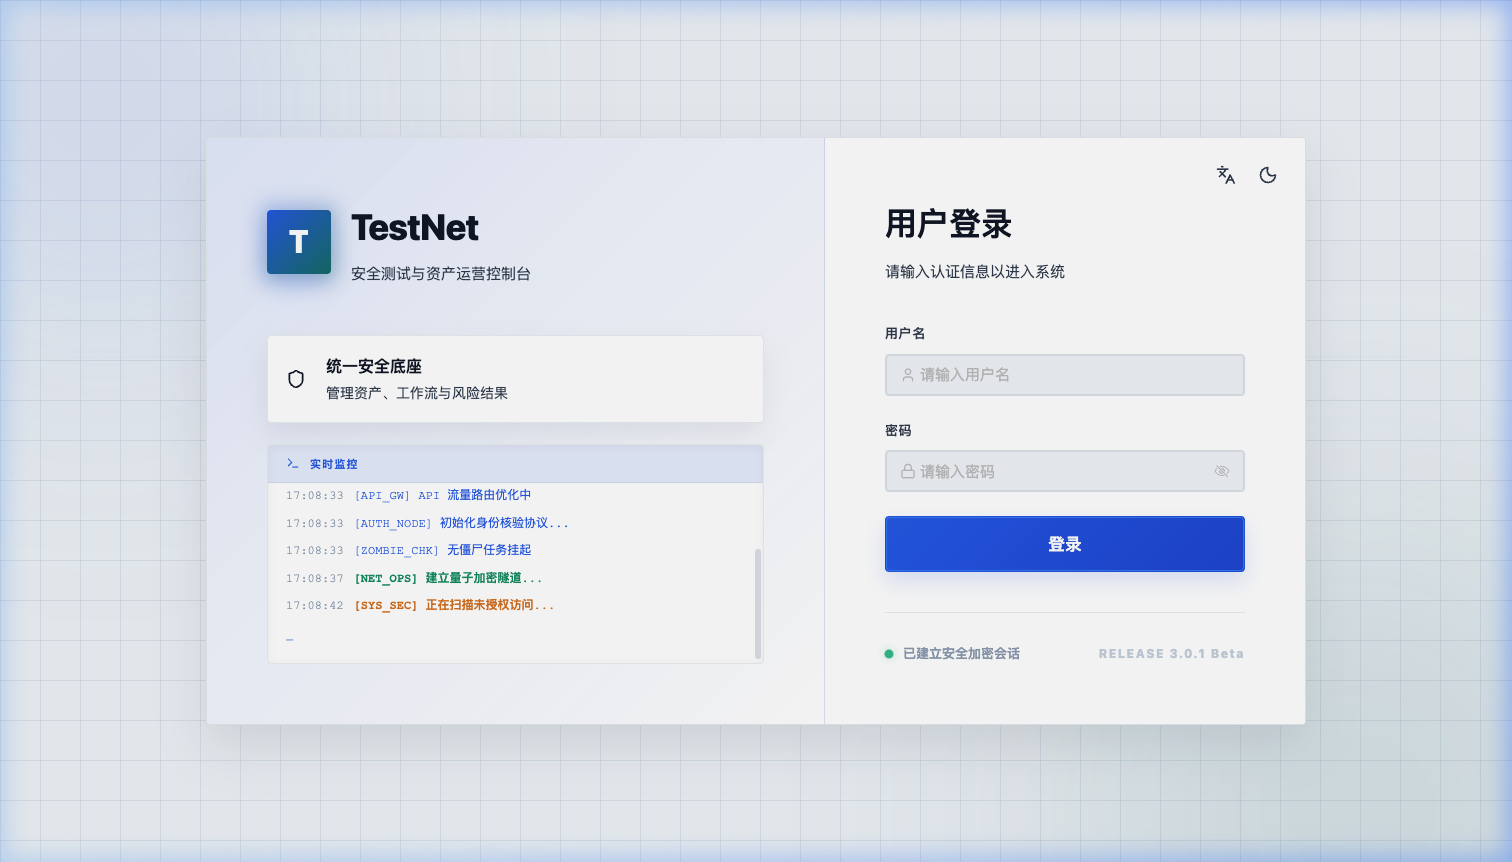
Default Credentials
- Username:
admin - Password: Automatically generated during deployment (check deployment logs or
ADMIN_INIT_PASSWORDin.env).
After Docker deployment, you can reset the password to Admin@123456 using ./testnet.sh reset-password.
Change Initial Password
- Click on the user profile icon in the top right corner.
- Select Profile Settings.
- Switch to the Security tab.
- Fill in your current password and new password.
- Click Save.
Main Modules
| Group | Module | Description |
|---|---|---|
| Overview (CORE) | Dashboard | Asset statistics, recent task status, and system metrics. |
| Projects | Multi-project management. | |
| Assets (ASSETS) | Asset Management & Graph | Lifecycle management, topology visualization, and filtering across 8 core asset models. |
| Asset Config | Configure tags, auto-tagging, ownership mappings, access rules, notifications, and custom fields. | |
| Security (SECURITY) | Cyberspace Search | Search and configuration for engines like FOFA, Shodan, Hunter, etc. |
| Automation | Workflow design and execution, tool library management, config distribution, and task auditing. | |
| Scan Nodes | Client node registration, online status, and health management. | |
| System (SYSTEM) | Message Center | System notifications, alert rules, and notification history. |
| System Admin | User, role, department, menu permissions, and RSA license management. |
Step 2: Create Your First Project
A project serves as the logical scope for isolating assets and workflows:
- Click Project Management on the left menu.
- Click New Project.
- Fill in the project name and description.
- Click Save.
Once created, use the Project Switcher in the top navigation bar to select the active project context.
Step 3: Add Your First Asset
Add Manually
- Click Asset Management → Domain on the left sidebar.
- Click the Add button.
- Enter the domain (e.g.,
example.com). - Click OK to save.
Import in Bulk
- Click the Import button.
- Download the Excel template.
- Fill in the domains according to the template.
- Upload the file to complete the import.
Step 4: Install Tools and Run Scans
Install a Tool from the Store
- Go to Tool Management → Tool List.
- Click the Store button.
- Find the tool you need (e.g.,
Subfinder). - Click Install.
Install a Pre-configured Workflow
- Go to Workflows → Workflow List.
- Click the Store button.
- Find the workflow you need.
- Click Install.
Step 5: View Scan Results
- Click Task Management to monitor running tasks.
- Once complete, click Logs to view execution details.
- Click Results to view discovered subdomains, ports, or web assets.
Next Steps
🎉 Congratulations!
You have completed the basic workflow. Now you can explore:
- Asset Graph Models — Core entity definitions and automatic cascading resolution.
- Common Asset Operations — Filtering, batch actions, and Excel import/export.
- Workflow Automation — Orchestrate complex automated scanning workflows.
- Distributed Nodes & Security — Probe pool governance and sandbox policies.
- Cyberspace Search Integration — Configure credentials for FOFA, Shodan, Hunter, etc.